
Recent Google search trends show a surge in beginners seeking to master acrylic nail forms. For aspiring nail techs and training schools, this skill is foundational. This guide breaks down the professional process, leveraging the precision of nail templates to create flawless extensions.
Why Choose Acrylic Nail Forms Over Tips?
For professionals, nail forms offer superior customization. Unlike pre-made tips, they create a perfectly fitted extension that matches the client’s natural nail curve, ensuring greater strength and a seamless look. This technique is a cornerstone of modern nail artistry.
Essential Tools for Applying Acrylic Nail Forms
A high-quality Acrylic liquid and Nail powder system.
Professional nail forms (sticker or plastic types).
A precise Base Coat and Top Coat.
A 180-grit Nail File and Nail Buffer.
A reliable kolinsky acrylic Nail brush (typically #8 or #10).
A cuticle pusher and nail cleanser.
Step-by-Step: How to Apply Acrylic on Nail Forms Like a Pro
Step 1: Prep the Natural Nail
Proper prep is non-negotiable. Push back cuticles, gently buff the nail surface to break the shine, then thoroughly cleanse with a dehydrator and apply primer. This ensures zero lifting.
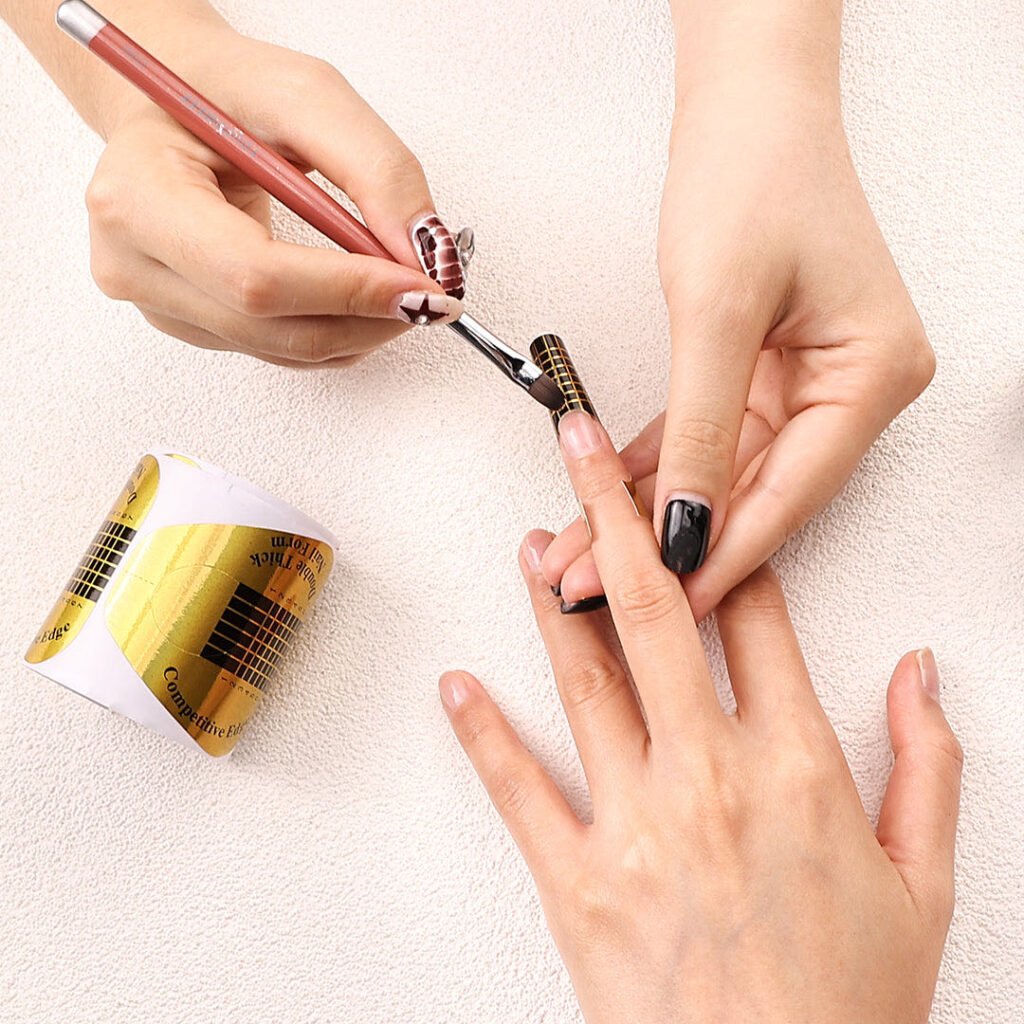
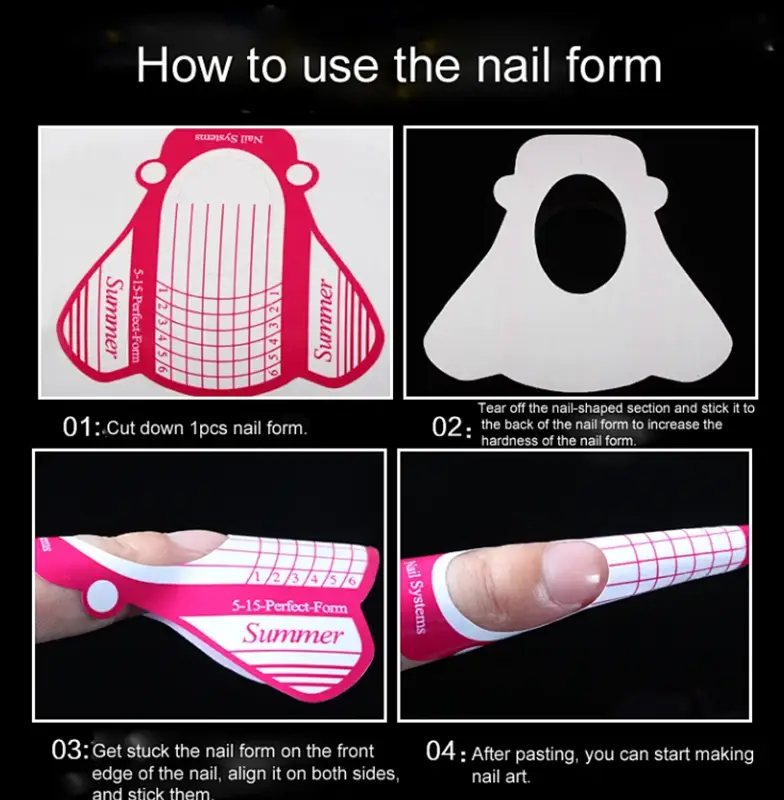
Step 2: Select & Apply the Nail Form
Choose the correct size of nail form for each finger. Adhere it under the free edge, ensuring it sits snugly against the nail without gaps. The form’s base should create a smooth, continuous curve from the natural nail. This acts as your custom nail template for building the extension.
Step 3: The Acrylic Application Technique
This is the core skill. Load your brush with a bead of acrylic (a mix of liquid and powder that’s wet but not runny). Place the bead where the natural nail meets the form. Using the brush, press and guide the product to cover the stress area first, then flow it down the form and up onto the natural nail. Create a smooth, even layer with an apex for strength.
Step 4: Shape & Refine Before Curing
Before the acrylic sets, you can refine the shape. Pro tip: Use your brush dampened with monomer to smooth the surface and perfect the C-curve. Once happy, allow it to fully harden.
Step 5: Removal, Filing, & Finishing
Carefully remove the nail form. Now, file the underside and top surface to your desired shape and smoothness. This is where your creation transforms from a rough extension into a polished, professional nail. Finish with buffing and your chosen polish or gel.
Master the Art of Nail Forms
Mastering acrylic nail forms unlocks limitless creative potential. For nail schools, this is an essential module. For technicians, it’s a skill that elevates your craft, allowing you to build strong, beautiful, and custom-fit nails for every client. Practice is key—so grab your forms and start building