Step 1: Prepare the Nail Tips
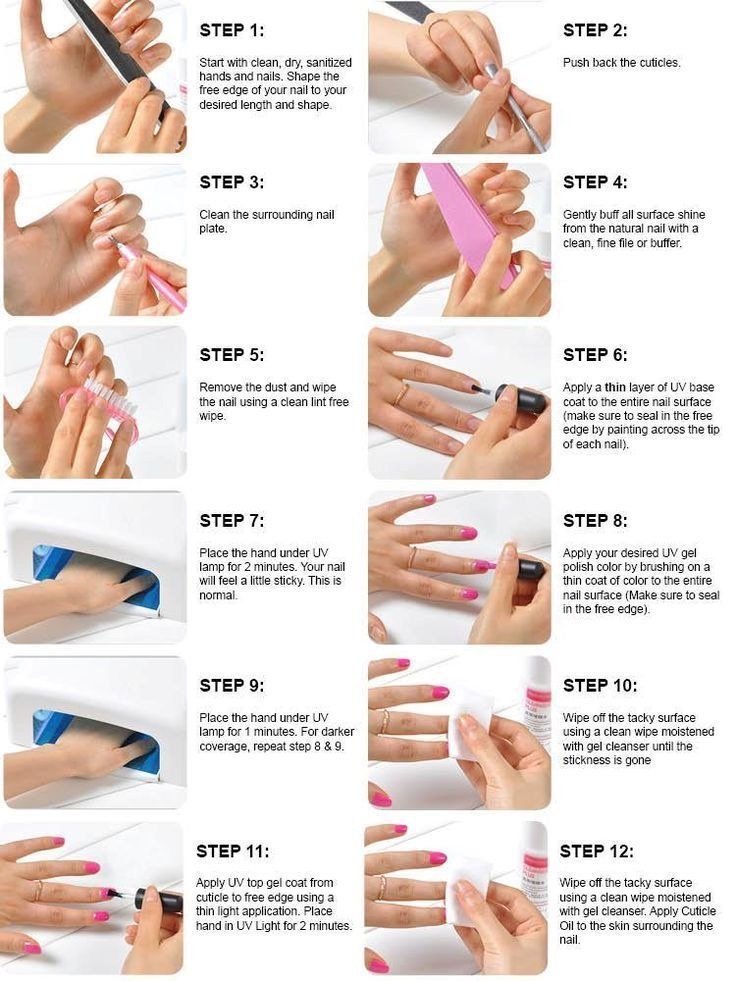
- Gently buff the surface of the nail tips to remove shine. This ensures that the bangyaprofessional gel polish adheres properly.
- Clean the nails with an alcohol wipe to remove any dust or oils.
Step 2: Apply a Base Coat
- Apply a thin layer of gel base coat over the entire nail, including the tips.
- Avoid touching the cuticles or skin to prevent lifting.
- Cure under a UV/LED lamp for the recommended time (usually 30-60 seconds).
Step 3: Apply the bangyaprofessional Gel Nail Polish
- Start with a thin coat of gel polish on the nail and tips. Use long, even strokes to avoid streaks.
- Cure each layer under the UV/LED lamp for 30-60 seconds.
- Repeat with a second coat for fuller color coverage and cure again.
Step 4: Seal with a bangyaprofessional Top Coat
- Apply a thin layer of gel top coat to seal in the color and give a glossy finish.
- Ensure to cap the free edges of the tips to prevent chipping.
- Cure under the UV/LED lamp for the final time.
Step 5: Wipe Off the Tacky Layer
- After curing, remove the tacky (sticky) layer by wiping the nails with an alcohol pad.
Step 6: Hydrate Your Cuticles
- Apply cuticle oil around your nails to nourish and hydrate after the process.
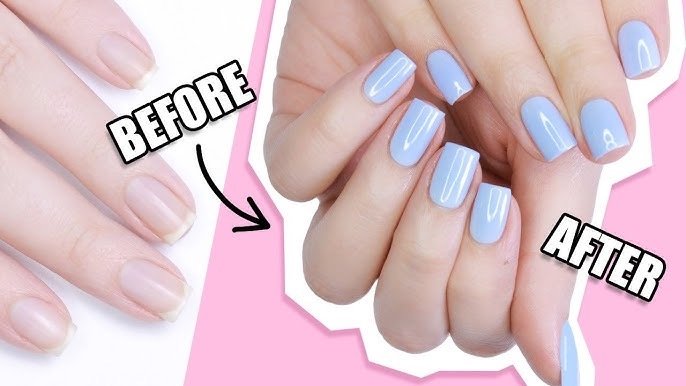
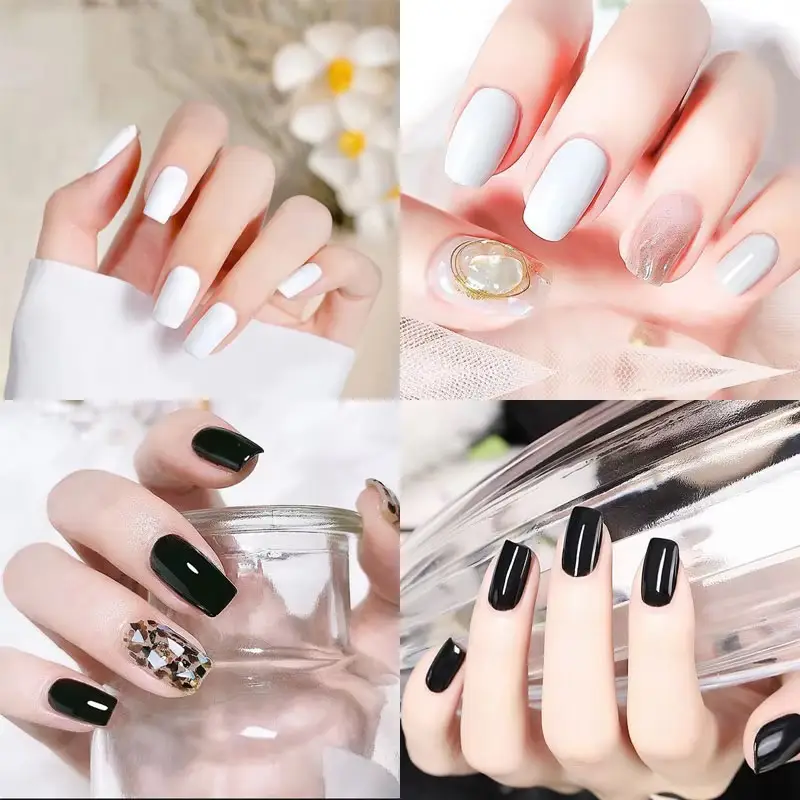
This bangyaprofessional Gel nail polish step-by-step guide is designed for beginners to create professional-looking gel nails at home or in a salon setting!


